
Start using Tailwind now!
Unlocking the power of Tailwind CSS: A quick-start tutorial.


Tailwind CSS is a popular utility-first CSS framework that has gained significant popularity within the web development community. It is easy to use and developer-friendly. In the dynamic world of web development, staying ahead of the curve is paramount. Tailwind CSS has changed the way and made it super easy to design responsive deforsigns with the least effort.
Welcome to my short and crisp "Tailwind CSS quick start tutorial". Whether you are a seasoned coder or just embarking on your web dev journey, this blog is your gateway to mastering Tailwind.
WARNING: Once you enter the world of Tailwind, there is no way back!
Welcome to Tailwind
In this tutorial, I will walk you through some important classes that we frequently use and are the most important properties in styling web pages. The only thing I expect from you is to have a basic understanding of CSS. Let's dive into the world of Tailwind CSS and unlock the secrets to rapid web dev.
Installation
There are different methods of including Tailwind CSS, it depends on the type of your project whether you are using any framework or you are building using plain HTML and CSS.
Let's start exploring them one by one.
Using CDN: CDN stands for Content Delivery Network, it is like a server that delivers images, videos, scripts etc. to users. To include Tailwind CDN paste this code in the head tags of the HTML file
<script src="https://cdn.tailwindcss.com"></script>. Now we are good to go with writing Tailwind. CDN is only for development purposes we do not use it in production applications.Using CLI: Install the Tailwind via CLI using npm by pasting the following lines of code in your terminal
npm install -D tailwindcss npx tailwindcss initYa! that's it. We can now directly start writing our Tailwind CSS code.For frameworks, I will give you the demo for Vite and for the rest you can follow their official documentation, the steps are almost similar.
After creating your Vite app, move to your project directory and install Tailwind through CLI and npm by pasting the following code
npm install -D tailwindcss postcss autoprefixer npx tailwindcss init -pAfter Tailwind has finished installing, you will get a file named
tailwind.config.jsfile. Replace thecontentobject with the following codecontent: [ "./index.html", "./src/**/*.{js,ts,jsx,tsx}", ],Now in your
index.cssfile paste the following code@tailwind base; @tailwind components; @tailwind utilities;. We are all ready to write Tailwind CSS now!
Margins
Class names reserved for margins in Tailwind is m which will apply the same margin in all directions, for margin left and right combined i.e. margin on the x-axis it is mx, for margin top and bottom combined it is my, for individual margins like top, right, bottom and left the classes are mt, mr, mb and ml respectively. Let's see them in action. I would be using the CDN method for this tutorial but you can follow the installation method as per your requirement.

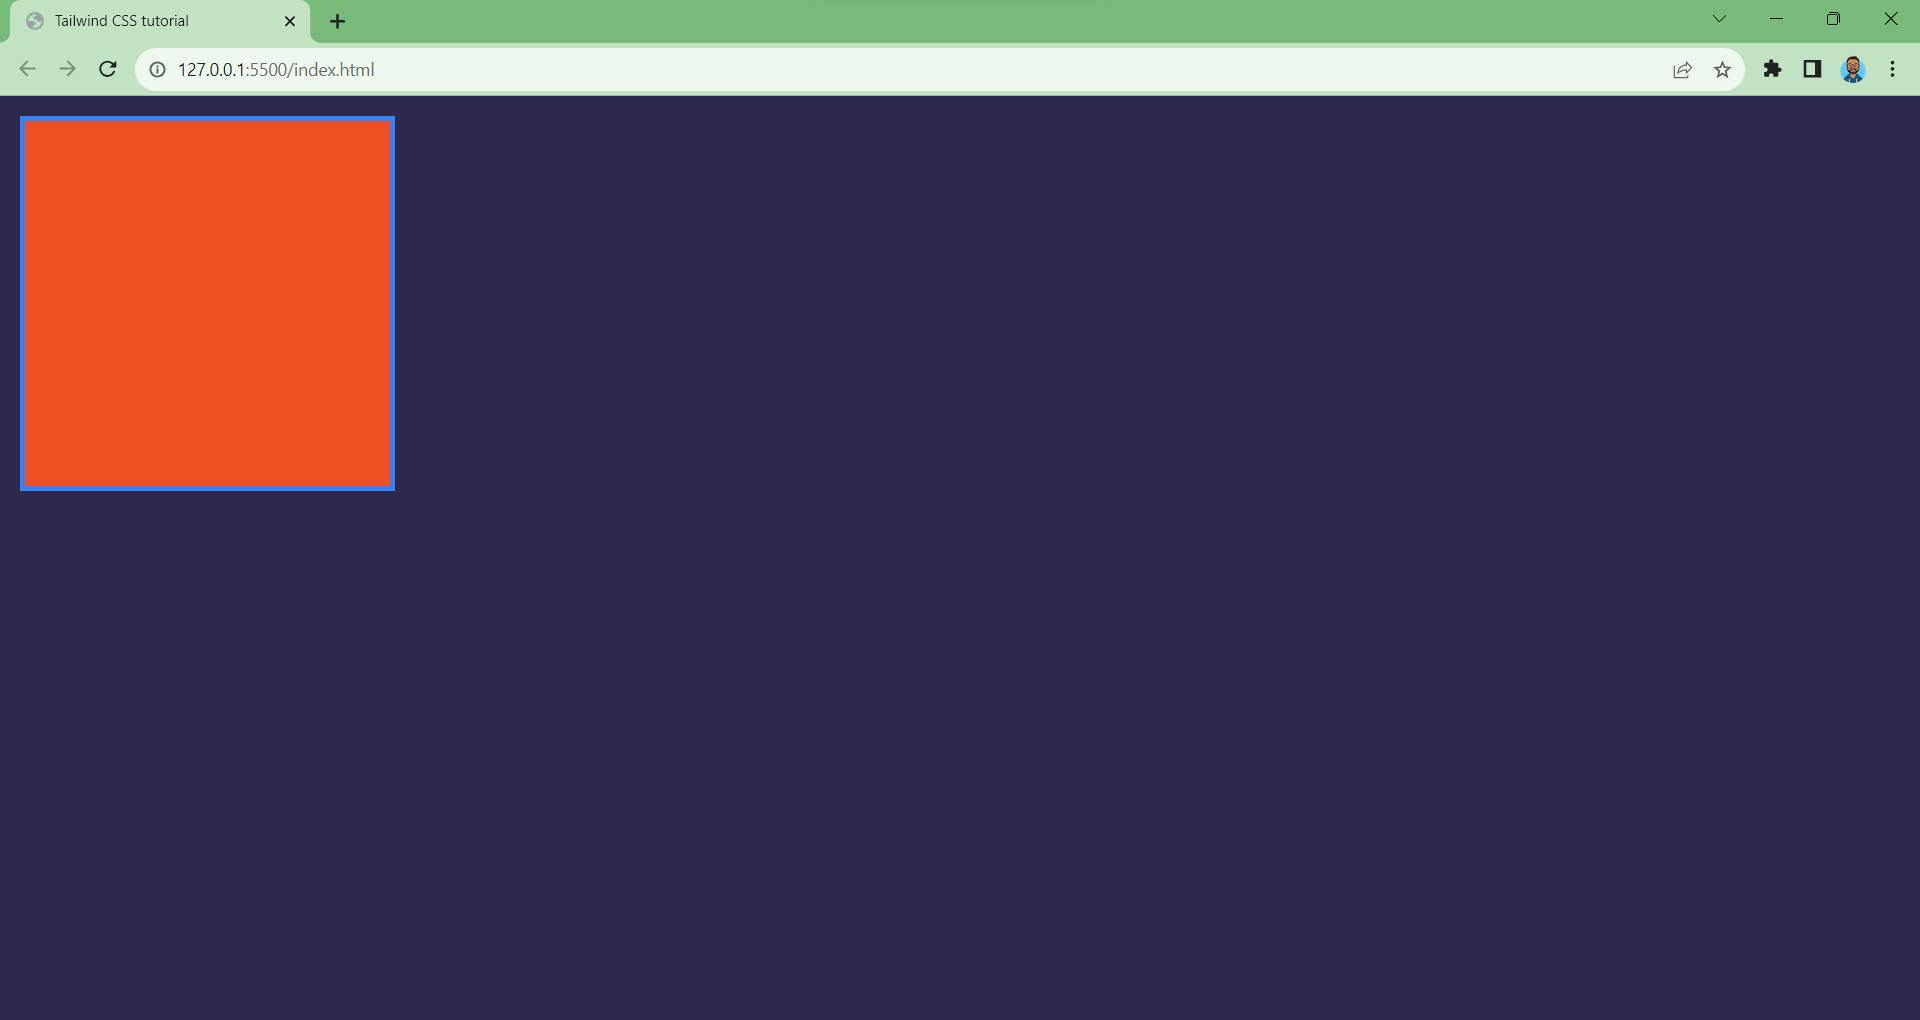
This is the current state of our site, I have used some CSS to give it a background color and the div certain height and width. For now let's just focus on applying margin using Tailwind.
Margin Top: Margin top can be given to an element using the class name
mt.<div class="mt-2"></div>This will give the div a top-margin of 8px, in Tailwind the units goes in multiple of 4, in case of pixels. For example, if you do something like
mt-1it is same asmargin-top: 4px;similarly, if you domt-3it is same asmargin-top: 12px;don't worry you need not to remember and calculate these classes everytime, we have something called as Tailwind Intellisense which will recommend you all the class names available for you to use. The state of our div after applyingmt-2is like:-
Try increasing or decreasing the margin and play with it.
💡Pro Tip: Install Tailwind CSS IntelliSense extension for VS Code to get suggestions for Tailwind classes.
Margin Bottom: Similarly we can apply margin-bottom to the div, for example let's say of 16px, means
mb-4<div class="mt-2 mb-4"></div>You will not see any change as there is nothing below the div. 💡Try placing another div below the original div and see if there is any margin bottom applied or not.
Margin Left and Margin Right: Let's apply margin left and margin right of 28px i.e.
ml-7andmr-7
Yes! the div has shifted. 💡Use the dev tools to see wheter margin-right of 28px has been applied or not.
To apply the same margin to both left and right we use the class
mxTo apply the same margin to both the top and bottom we use the class
my<div class="mx-4 my-4"></div>
Paddings
Similarly, as margins you can apply paddings, the class used for padding is p which will apply the same padding in all the directions. We also have classes like px, py, pt, pr, pb and pl.
Padding top:-
<div class="mx-4 my-4 pt-4"></div>Padding bottom:-
<div class="mx-4 my-4 pb-4"></div>Padding right:-
<div class="mx-4 my-4 pr-4"></div>Padding left:-
<div class="mx-4 my-4 pl-4"></div>Padding left and right combined:-
<div class="mx-4 my-4 px-4"></div>Padding top and bottom combined:-
<div class="mx-4 my-4 py-4"></div>All paddings combined:-
<div class="mx-4 my-4 p-4"></div>
NOTE: To provide custom values to Tailwind classes we use the square brackets notation. For example, if we want the div to have a margin of 3px then we can do this by writing down the value inside square brackets like m-[3px].
Width and Height
To apply width and height to our elements Tailwind provides us with classes of w and h followed by some value. For example w-2 and h-4. These are pretty straightforward so you can tackle it on your own, use the IntelliSense and play around, try applying custom widths and heights.
Border and Border-radius
To apply border to any element we use the border class by default it has a width of 1px and a color of white.
<div class="mx-4 my-4 border"></div>

To have different border widths we have classes like border-2, border-4 and so on. 💡Use the Tailwind intellisense to find out all the border width classes.
<div class="mx-4 my-4 border-4"></div>

To change color of the border Tailwind provides us with different classes of border-color-COLOR_NAME. Let's apply a color of blue to the div.
<div class="mx-4 my-4 border-4 border-blue-500"></div>
For border radius Tailwind provides us with the class named rounded by default it has a value of 4px. There are other classes like rounded-md, rounded-sm etc. which provides us with the best border-radius. Let's have a border radius of 8px for this we will use the class rounded-md which provides with border-radius of 8px.
<div class="mx-4 my-4 border-4 border-blue-500 rounded-md"></div>

You can also apply border-radius to corners individually, for this Tailwind has classes like rounded-tl-sm, rounded-tr-sm, rounded-bl-sm, rounded-br-sm 💡Try applying individual borders to different corners and explore more rounded classes using IntelliSense.
I will show one of the classes to you, you can apply and see the rest because the blog will become too long if we cover each and every class.
<div class="mx-4 my-4 border-4 border-green-500 rounded-md rounded-tl-xl"></div>

Fonts and Text
- To change the font weight we have classes like
font-bold,font-semiboldetc.
<div class="mx-4 my-4 border-4 border-green-500 rounded-md rounded-tl-xl font-bold">Tailwind tutorial</div>

💡Try finding the class for italics. If you didn't find it, it's alright. For making the font italic we have the class named italic
- Text-alignments: To align the text to center, left and right we have the classes
text-center,text-leftandtext-rightrespectively.
<div class="mx-4 my-4 border-4 border-green-500 rounded-md rounded-tl-xl font-bold text-center">Tailwind tutorial</div>

Font size:- To apply font size we use classes like
text-sm, text-xletc. same as border-radius. For using your own font size value you can use the square bracket notation.<div class="mx-4 my-4 border-4 border-green-500 rounded-md rounded-tl-xl font-bold text-center text-2xl">Tailwind tutorial</div>
Text colour: To change the text color we use the class
text-COLOR_NAMEsame as the border color. Let's change the color of the text from black to red using the classtext-purple-700<div class="text-purple-700 mx-4 my-4 border-4 border-green-500 rounded-md rounded-tl-xl font-bold text-center text-2xl font-mono">Tailwind tutorial</div>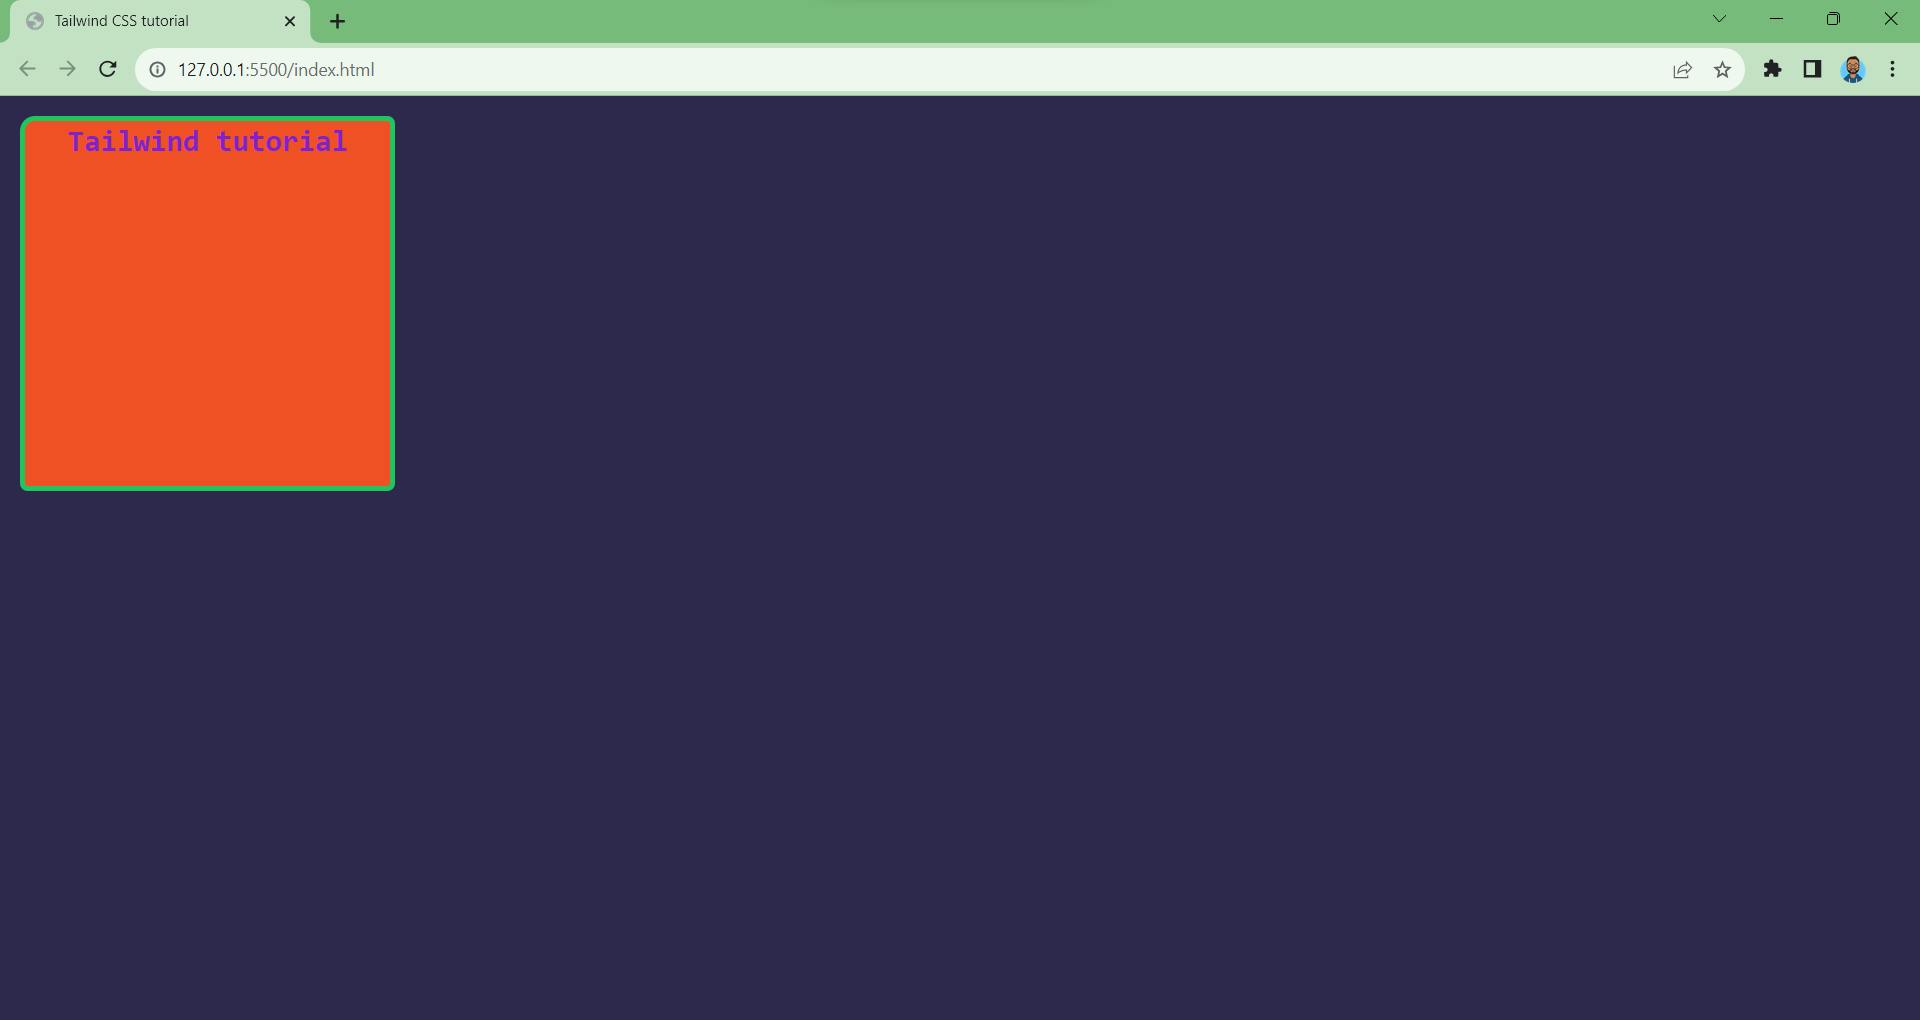
Font Family: We have the class named
font-FONT_NAMEfor changing the font of the text. I will use one of the recommendations from IntelliSense for changing the font name of the text inside the div. For now, I can only see three font families sans, serif and mono. Let's try applying the font mono.
<div class="font-mono mx-4 my-4 border-4 border-green-500 rounded-md rounded-tl-xl font-bold text-center text-2xl">Tailwind tutorial</div>
Custom Fonts
But what if we wanted to use our own fonts like any Google. Tailwind does provide us a way to use our own custom font, we can add/customize our own themes in the tailwind.config.js file. If you are using CDN then inside the head tags add a new script tag with the following code.
    <script>
      tailwind.config = {
        theme: {
          extend: {
            colors: {
              clifford: "#da373d",
            },
            fontFamily: {
              lexend: ['Lexend', 'sans-serif'],
            },
          },
        },
      };
    </script
If you have installed Taiwind using the terminal then you already have a tailwind.config.js file with the following code. You can add your custom font by simply creating a fontFamily object as shown in the code above.
Steps to add custom font:
First, add the font of your choice from Google fonts inside the
headtag of the HTML file.In your
tailwind.config.jsfile, inside theextendobject create an object named fontFamily.Give a custom name to the key inside fontFamily to access your font and add the fonts inside an array.
Follow the code below.
<!DOCTYPE html>
<html lang="en">
  <head>
    <meta charset="UTF-8" />
    <meta name="viewport" content="width=device-width, initial-scale=1.0" />
    <title>Tailwind CSS tutorial</title>
    <link rel="preconnect" href="https://fonts.googleapis.com" />
    <link rel="preconnect" href="https://fonts.gstatic.com" crossorigin />
    <link
      href="https://fonts.googleapis.com/css2?family=Lexend&display=swap"
      rel="stylesheet"
    />
    <script src="https://cdn.tailwindcss.com"></script>
    <script>
      tailwind.config = {
        theme: {
          extend: {
            colors: {
              clifford: "#da373d",
            },
            fontFamily: {
              lexend: ['Lexend', 'sans-serif'],
            },
          },
        },
      };
    </script>
    <link rel="stylesheet" href="index.css" />
  </head>
  <body>
    <div
      class="text-purple-700 mx-4 my-4 border-4 border-green-500 rounded-md rounded-tl-xl font-bold text-center text-2xl font-lexend"
    >
      Tailwind tutorial
    </div>
  </body>
</html>

Background color and Background Image
To apply background color Tailwind has a class named bg followed by the color name. For example bg-red-500. Let's change the background color of our div.
    <div
      class="bg-teal-600 text-purple-700 w-[300px] h-[300px] mx-4 my-4 border-4 border-green-500 rounded-md rounded-tl-xl font-bold text-center text-2xl font-lexend"
    >
      Tailwind tutorial
    </div>

Woo! hoo! We have successfully changed the background from orange to teal.
💡You can use custom colors too by providing the color of your choice inside the square brackets.
Background Image
Tailwind does not provide us with different classes for background color and background image. Therefore we have to use bg class for applying background image.
There are two ways in which we can pass an image to the bg class. First, is by using the square bracket method and the second is by extending the theme, in the tailwind.config.js file. Let's learn them one by one.
Passing arbitrary value ( Square bracket method ): I am taking any image from the Unsplash website. To use the image we pass the URL of the image inside the square brackets, it can either be a link from the internet or the path of the image stored in your computer. I have the image from the internet and in order to use the image the code will be:
bg-[url('the_image_link')]<div class="bg-[url('https://shorturl.at/ruOV4')] text-purple-700 w-[300px] h-[300px] mx-4 my-4 border-4 border-green-500 rounded-md rounded-tl-xl font-bold text-center text-2xl font-lexend" > Tailwind tutorial </div>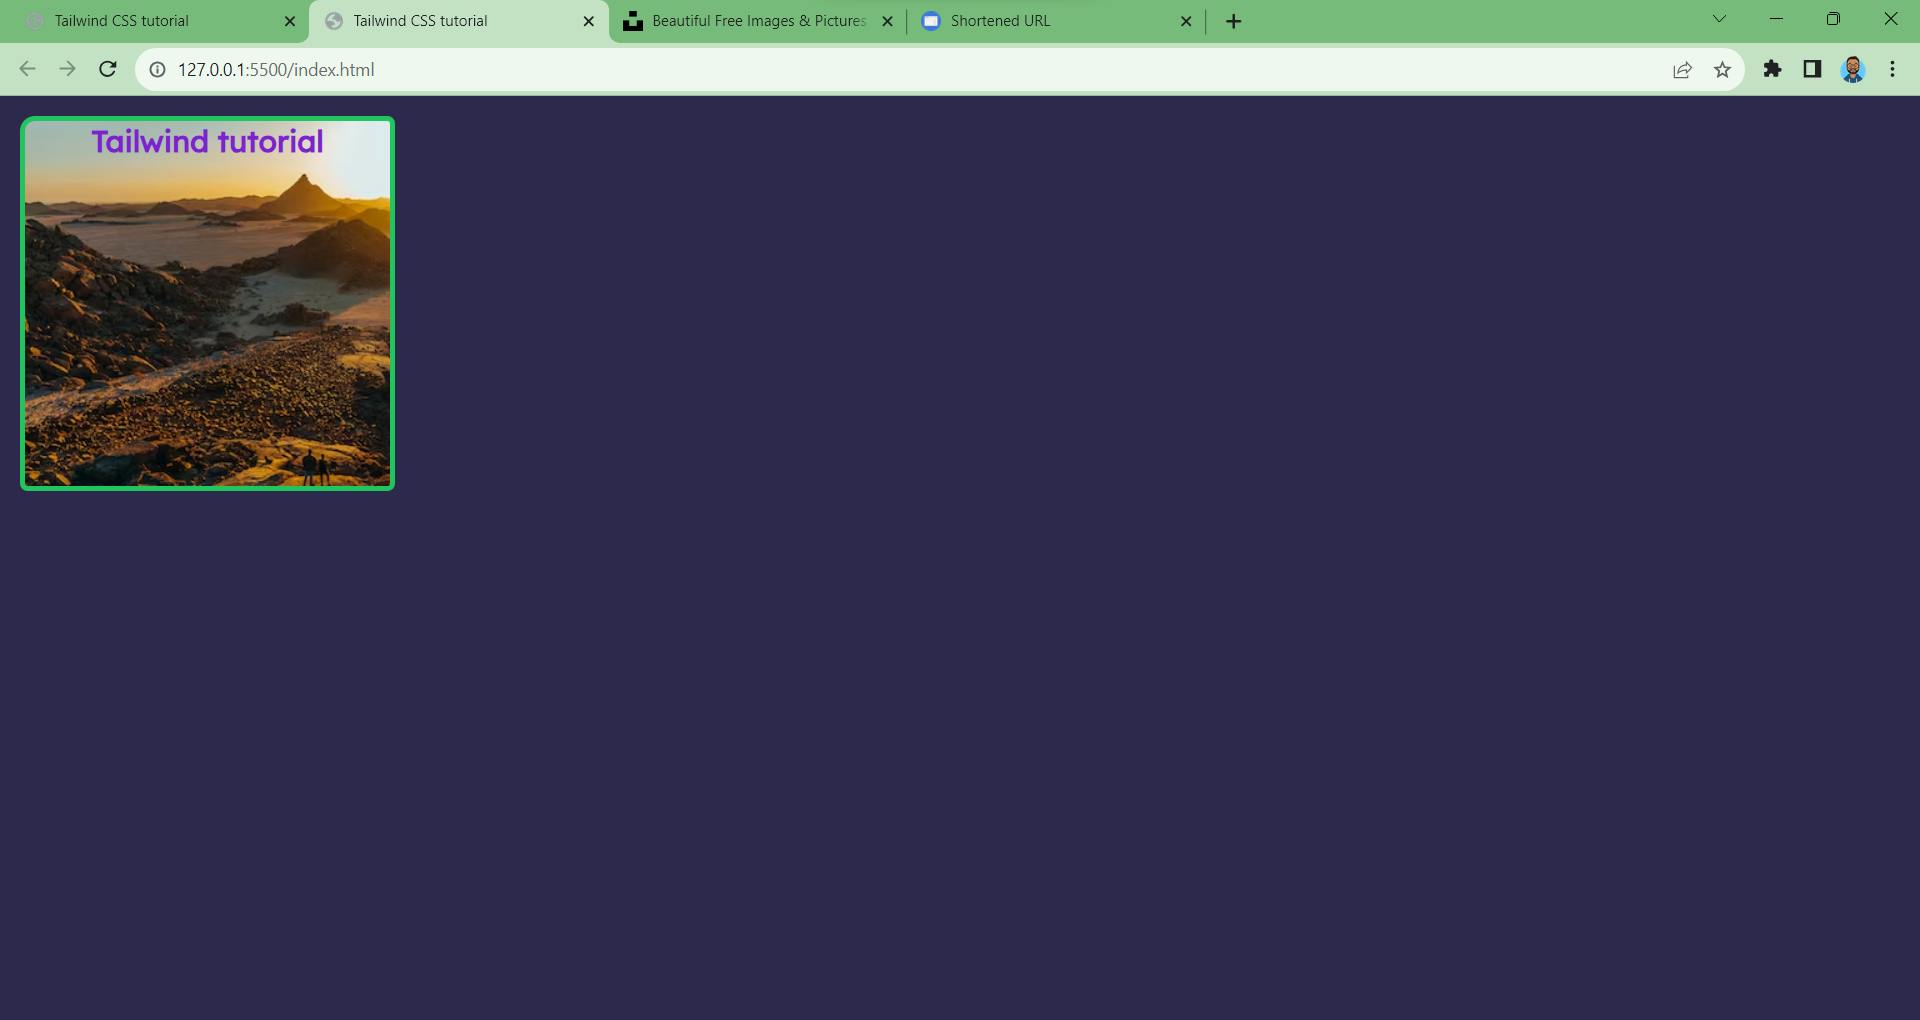
Extending the Theme: Inside the
extendobject, add an object named backgroundImage and inside the object create a key i.e. name of your custom background image and pass the path of the image inside the URL as a value. This time I will show you how to do it by saving an image locally. Here is how to do it.tailwind.config = { theme: { extend: { colors: { clifford: "#da373d", }, fontFamily: { lexend: ["Lexend", "sans-serif"], }, backgroundImage: { 'car': "url('/photo.avif')" } }, }, };Now when we can use the
bg-carclass to get our background image.<body> <div class="bg-car text-purple-700 w-[300px] h-[300px] mx-4 my-4 border-4 border-green-500 rounded-md rounded-tl-xl font-bold text-center text-2xl font-lexend" > Tailwind tutorial </div>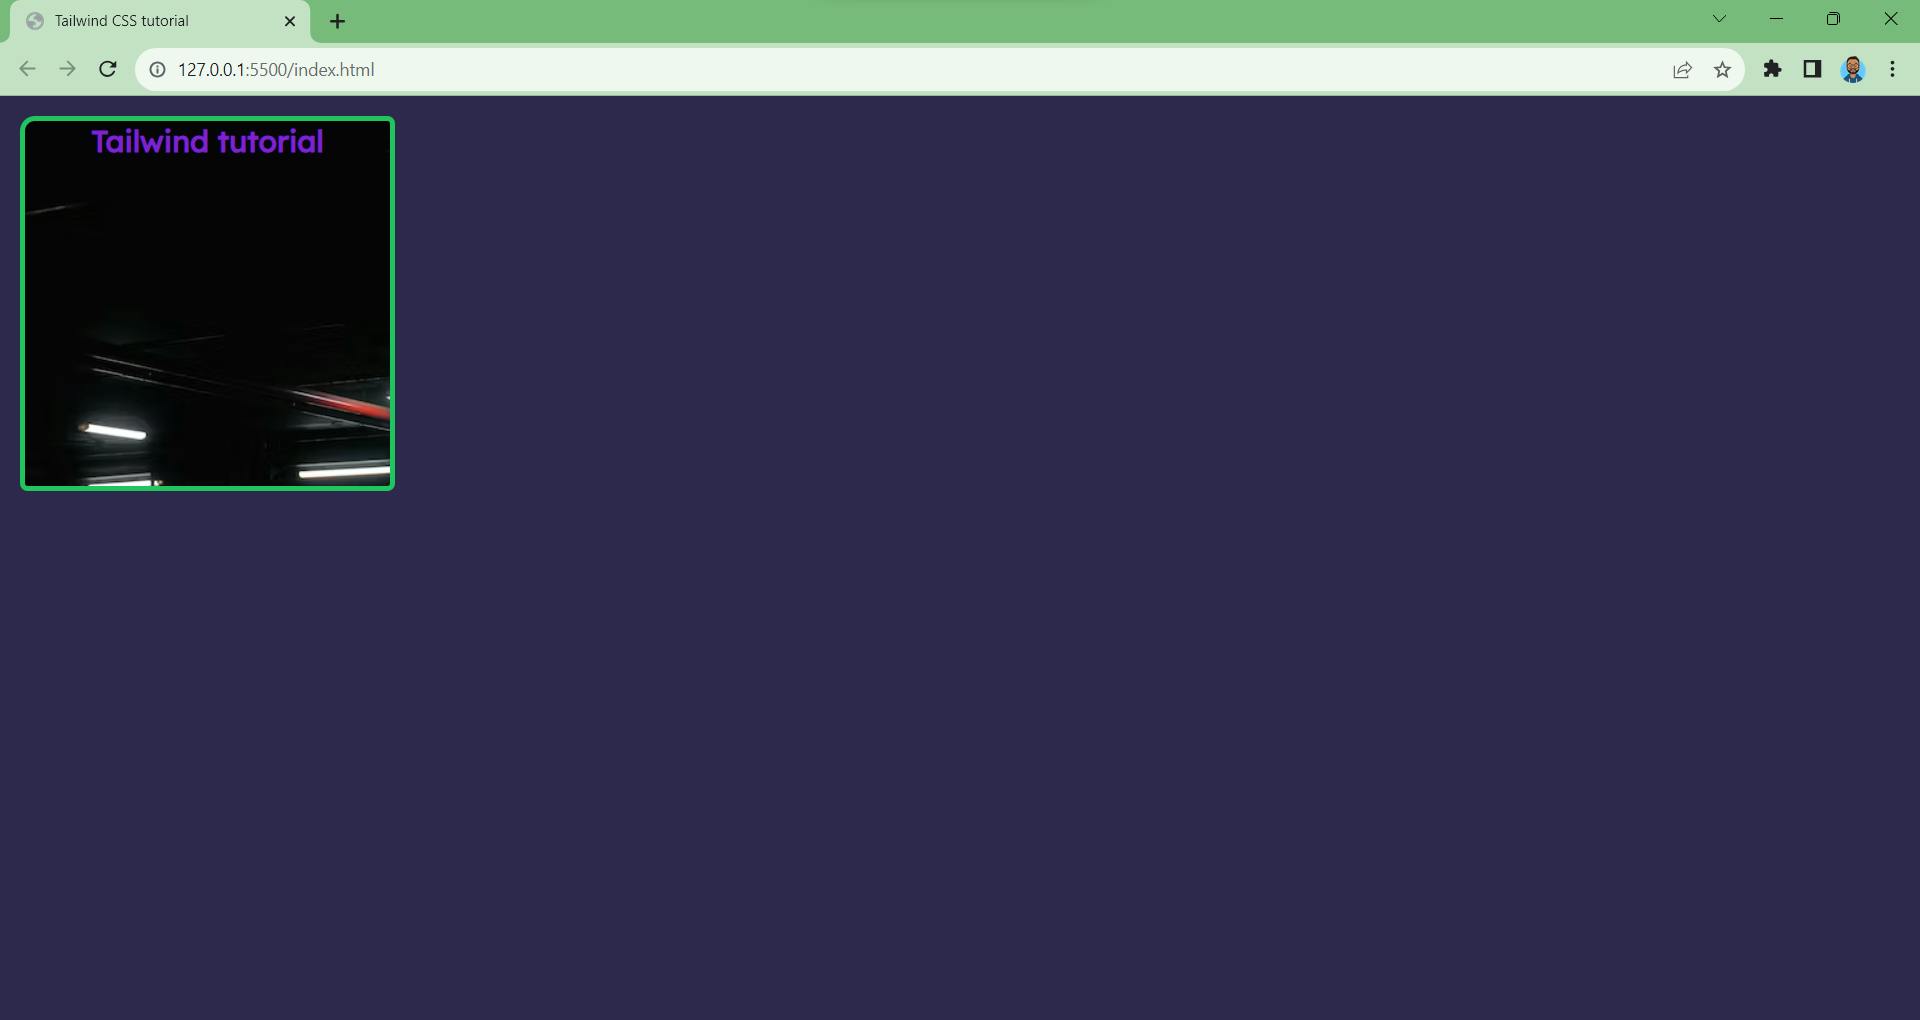
Background properties
Background size: For background size, we have classes like
bg-cover, bg-contain and bg-autowe can also use custom values (bg-[length: 200px_100px]).Background position: For background position we have different classes like
bg-center, bg-left, bg-bottom, bg-topetc. Use IntelliSense to look for more. You can pass custom values asbg-[center_top_20px]Background repeat: Background repeat can be changed using classes such as
bg-no-repeat, bg-repeatetc.
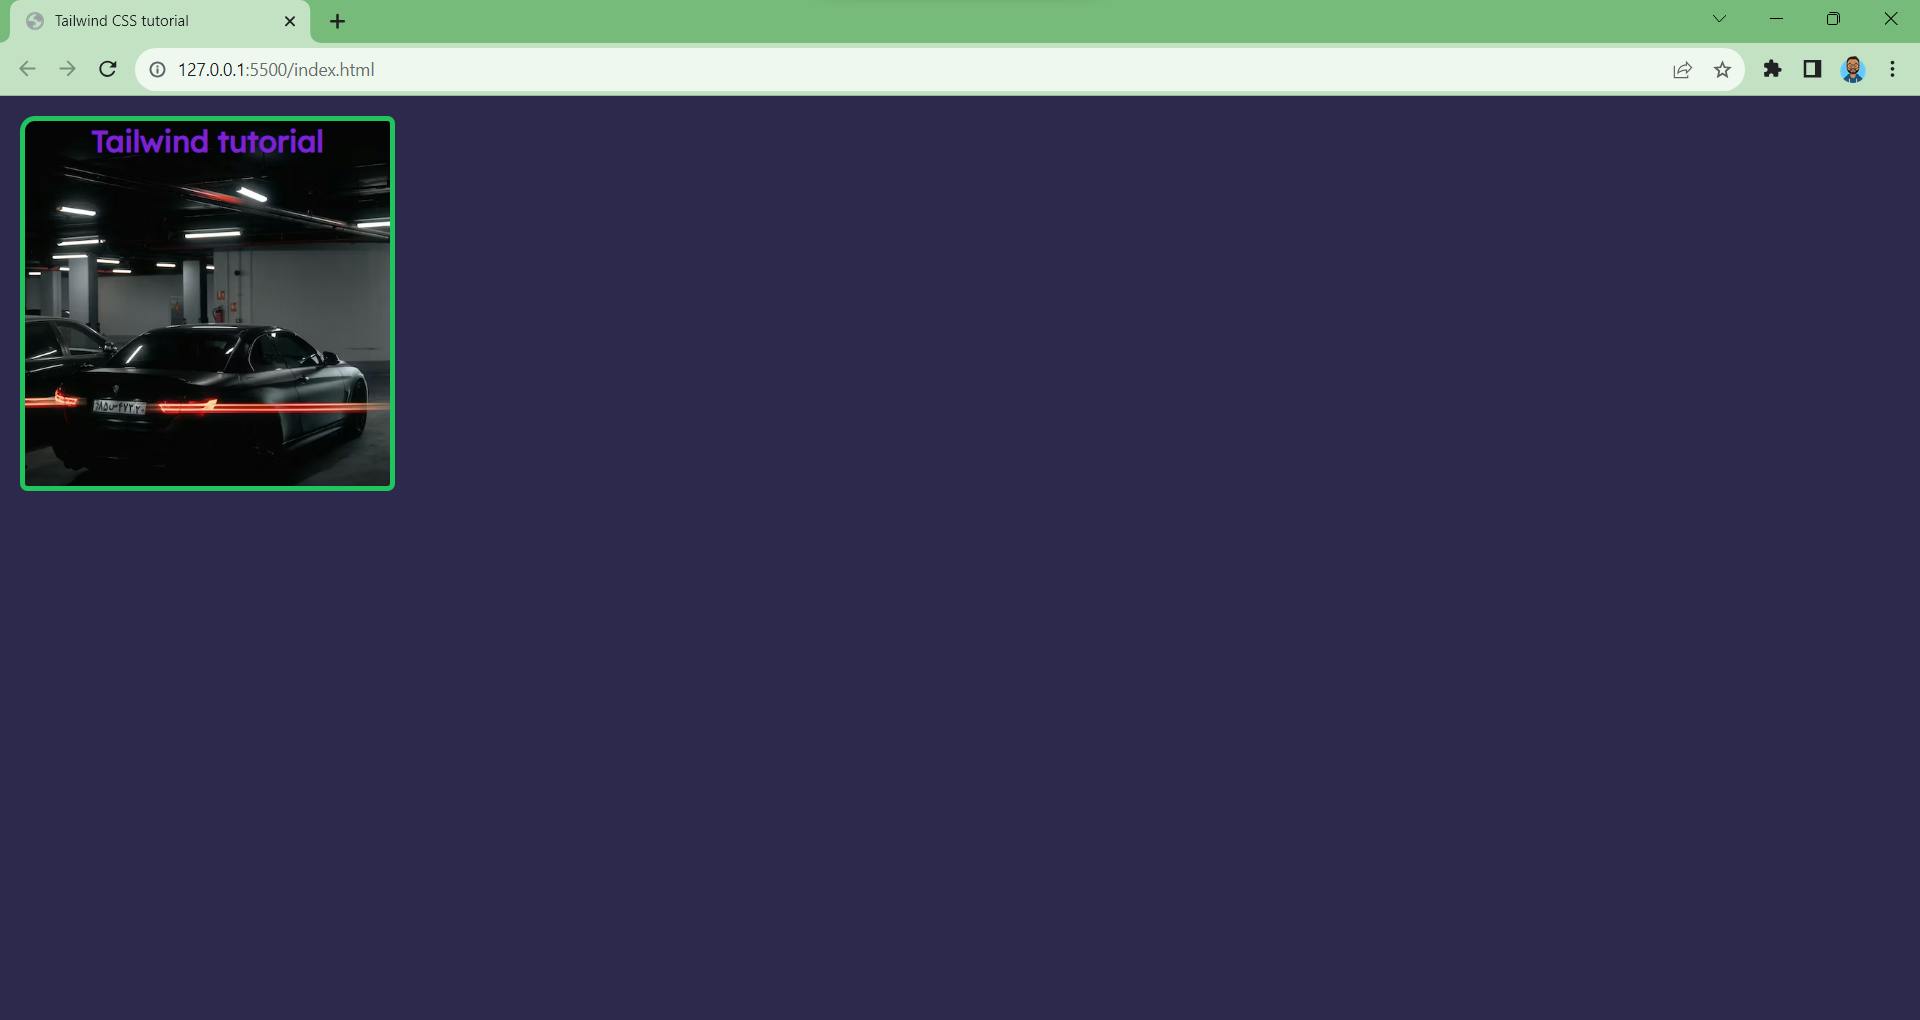
Let's apply these properties and try to fix the background image.
    <div
      class="bg-car bg-cover bg-center bg-no-repeat
             text-purple-700
             w-[300px] h-[300px]
             mx-4 my-4
             border-4 border-green-500
             rounded-md rounded-tl-xl
             font-bold text-center text-2xl font-lexend"
    >
      Tailwind tutorial
    </div>
Wrapping up!
This would be enough for you to start using Tailwind in your projects, I have walked you through the basics that you require, now as a developer you should poke around and try discover things on your own. Use IntelliSense to play around with classes and check out their documentation, ask your doubts and problem in the communities or on Twitter you can reach out to me as well, I am always available on Twitter, this blog was just for you to get started you will actually learn when you start building projects, if you need help just go to their docs and search what you want. We will cover concepts like flexbox, responsive design in some other blog. Tailwind is very easy it will save you a lot of time that you put writing vanilla CSS, it is faster, better and efficient.
I keep writing these type of content you can hit the like button, leave a comment, let me know where can I improve. You can follow me on Twitter as well I keep positng amazing content there as well. I will see you in the next blog. Keep coding 🔥.