Build a Fully functional Contact Us Form - EmailJS
Build a fully functional contact us form in React using EmailJS, receive user entered form data in your email.

I'm Sreejit Sengupta, an aspiring developer, currently building frontend webapps using React, Taiwind and other tech stacks. Loves to write and talk Tech.
Introduction to the topic
In this blog we will learn how you can build a fully functional contact-us form in React using EmailJs.
Users/Customers will fill in the form and the data or the query will be sent directly to your email address. All this with just few integrations and lines of code. Cherry on the top you can even send a Thank you mail to the user/customer and more.
What is EmailJs
As specified in their docs, EmailJS helps to send emails using client-side technologies only. No server is required – just connect EmailJS to one of the supported email services, create an email template, and use one of our SDK libraries to trigger an email.
Email templates can optionally contain dynamic variables in almost any template field (such as Subject, Content, To Email address, From Name, etc.) which are populated from the application code calls. For example, the subject can be "{{ name }}, you have a new message", and using your app code the name can be set to "James Dean", for instance.
Additionally, you can easily add attachments, require CAPTCHA validation, switch between email services without making code changes, review the history of the email request, and more.
In this tutorial we will focus on sending emails.
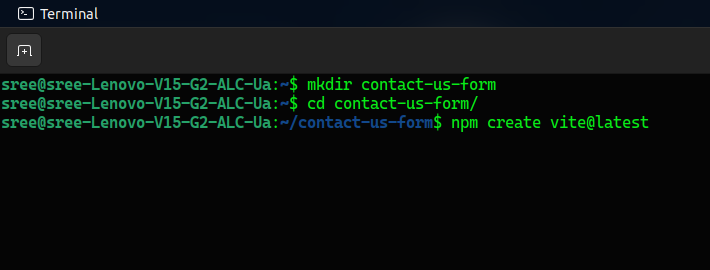
Let's fire up our React app
I prefer using Vite to fire up React, but if you prefer CRA that's totally fine.
Open the folder where you want to create the React app in terminal or create it somewhere and open it in the VS Code terminal.
Follow these configurations

make sure to use '.' in project name otherwise it would create a new folder inside the project folder that you just created.
After these steps just paste and run npm install to install the required dependencies.
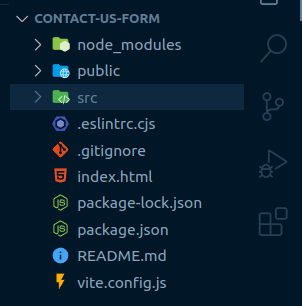
You should see the following folder structure upon successful installation.
Contact-us form component
Let's now design, the contact us form first. I will be using Tailwind to implement CSS, this blog doesn't focus on the styling part (I hate CSS), therefore you need not worry about it. You can copy the styles from the GitHub repo. You just focus on the technical and logical part of the project.
I am attaching the installation guide for Tailwind it's damn straight forward, just select your framework (CRA or Vite) and just copy paste the commands(skip the first command as it makes you create the React App again) sequentially as mentioned in the docs (Tailwind installation guide).
A professional approach
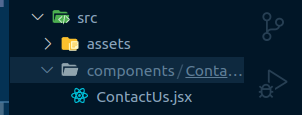
Though the project just requires a single component but still we will follow a professional approach. We will create a professional folder structure and I would encourage you to do the same every time you create a new project.
Here's how the folder structure goes: Inside the src directory, create a new folder named as components and then inside the component folder create a new folder named ContactUs and inside this folder create a file named ContactUs.jsx
Move to App.jsx and delete everything and paste the following code:
import ContactUs from "./components/ContactUs/ContactUs";

function App() {
  return (
    <div className="w-full h-screen flex items-center justify-center">
      <ContactUs />
    </div>
  );
}

export default App;
Remove App.css as well.
Form structure
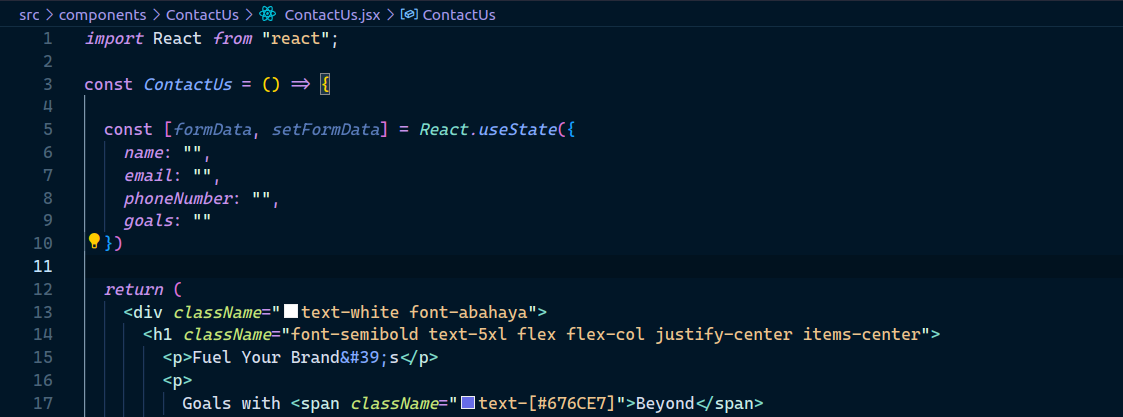
Here is the entire structure of the contact us form. It is non functional at the moment and only comprises of styles.
import React from "react";
const ContactUs = () => {
return (
<div className="text-white font-abahaya">
<h1 className="font-semibold text-5xl flex flex-col justify-center items-center">
<p>Fuel Your Brand's</p>
<p>
Goals with <span className="text-[#676CE7]">Beyond</span>
</p>
</h1>
<div className="flex justify-center items-center flex-col text-[#CECECE] my-4 text-lg">
<p>
You will get a response within 24 hours. We will explain in details
how we can help
</p>
<p>you fuel and grow your brand within the stated budget.</p>
</div>
<form className="flex flex-col justify-center items-center">
<input
type="text"
className="border-b-2 min-w-80 px-6 py-2 bg-transparent placeholder:text-xl placeholder:text-white outline-none text-xl mb-3"
placeholder="Name"
/>
<input
type="email"
className="border-b-2 min-w-80 px-6 py-2 bg-transparent placeholder:text-xl placeholder:text-white outline-none text-xl mb-3"
placeholder="Email"
/>
<input
type="text"
className="border-b-2 min-w-80 px-6 py-2 bg-transparent placeholder:text-xl placeholder:text-white outline-none text-xl mb-3"
placeholder="Phone number"
/>
<input
type="text"
className="border-b-2 min-w-80 px-6 py-2 bg-transparent placeholder:text-xl placeholder:text-white outline-none text-xl mb-3"
placeholder="Goals"
/>
<button className="text-xl mt-3 border rounded-md px-3 py-1">
Submit
</button>
</form>
</div>
);
};
export default ContactUs;
That's it, now let's come to the interesting part!
Logic Writing
First, we need to handle the input fields and store their data in a state. Let's us write the state. We will define the state using useState hook and initially it will contain an object with the following keys:
name
email
phoneNumber
goals
The initial values of these keys will be empty strings.
Now we have to correctly map the input elements with the correct keys in the formData object.
Mapping the input elements
A input element has two attributes:
value: This attribute specifies the initial value of the input element. It represents the value that will be submitted with the form if the input is not modified by the user.
name: This attribute specifies the name of the input element. When the form is submitted, the name attribute is used to identify the form data submitted to the server.
Therefore the input field that handles name will have the value of name from the formData object and name same as the key in the formData object.
For example: The input field responsible form handling name will have value=formData.name and name="name"
Rest all goes as-
<input
          type="text"
          value={formData.name}
          name="name"
          onChange={handleChange}
          className="border-b-2 min-w-80 px-6 py-2 bg-transparent placeholder:text-xl placeholder:text-white outline-none text-xl mb-3"
          placeholder="Name"
        />
        <input
          type="email"
          value={formData.email}
          name="email"
          onChange={handleChange}
          className="border-b-2 min-w-80 px-6 py-2 bg-transparent placeholder:text-xl placeholder:text-white outline-none text-xl mb-3"
          placeholder="Email"
        />
        <input
          type="text"
          value={formData.phoneNumber}
          name="phoneNumber"
          onChange={handleChange}
          className="border-b-2 min-w-80 px-6 py-2 bg-transparent placeholder:text-xl placeholder:text-white outline-none text-xl mb-3"
          placeholder="Phone number"
        />
        <input
          type="text"
          value={formData.goals}
          name="goals"
          onChange={handleChange}
          className="border-b-2 min-w-80 px-6 py-2 bg-transparent placeholder:text-xl placeholder:text-white outline-none text-xl mb-3"
          placeholder="Goals"
        />
handleChange function
To handle the changes made in the form we define a function, and set the form data to whatever the new value is received for the respective fields.
const handleChange = (e) => {
    e.preventDefault();
    const { name, value } = e.target;
    setFormData({ ...formData, [name]: value });
  };
We destructure the name and value from the event target i.e the field that is being currently manipulated, after that we spread the previous formData and add the new value of the key [name] to the value .
The form should now perfectly work. Try console logging it.
Heading on to EmailJs
Head up to emailjs and signup/signin. Once you are on the dashboard.
Follow these steps:
Click on add new service
Select Gmail (I am going to use gmail)
Then click on connect account. Select account of your choice. Provide necessary permissions.
Click on create service.
You are all done setting up the email service.
Now let's create the templates
We will create two templates. One that will be sent to our Email address when a form is submitted and one thank you mail to the user/customer.
Template for receiving form data
Head up to Create template section, you can find it on the menu on the left side of the screen.
Click on create new template.
You can see a demo template already created by emailjs.
The entities written in doubly curly braces are the variables, that will be replaced by the form data that we submit or through any other programmatic means.
These variables should match the key of the formData object in our code.
Let's now add a template that we will receive.
First go to the settings and change the name, let's say it contact_us and then click on save.
Now go to content and click on edit content and select design editor and paste the following template and hit apply changes.
   Hello,

   You got a new message from {{name}}:

   {{goals}}

   Contact details:

   Phone number- {{phoneNumber}}

   Email- {{email}}
At the end the template should look like
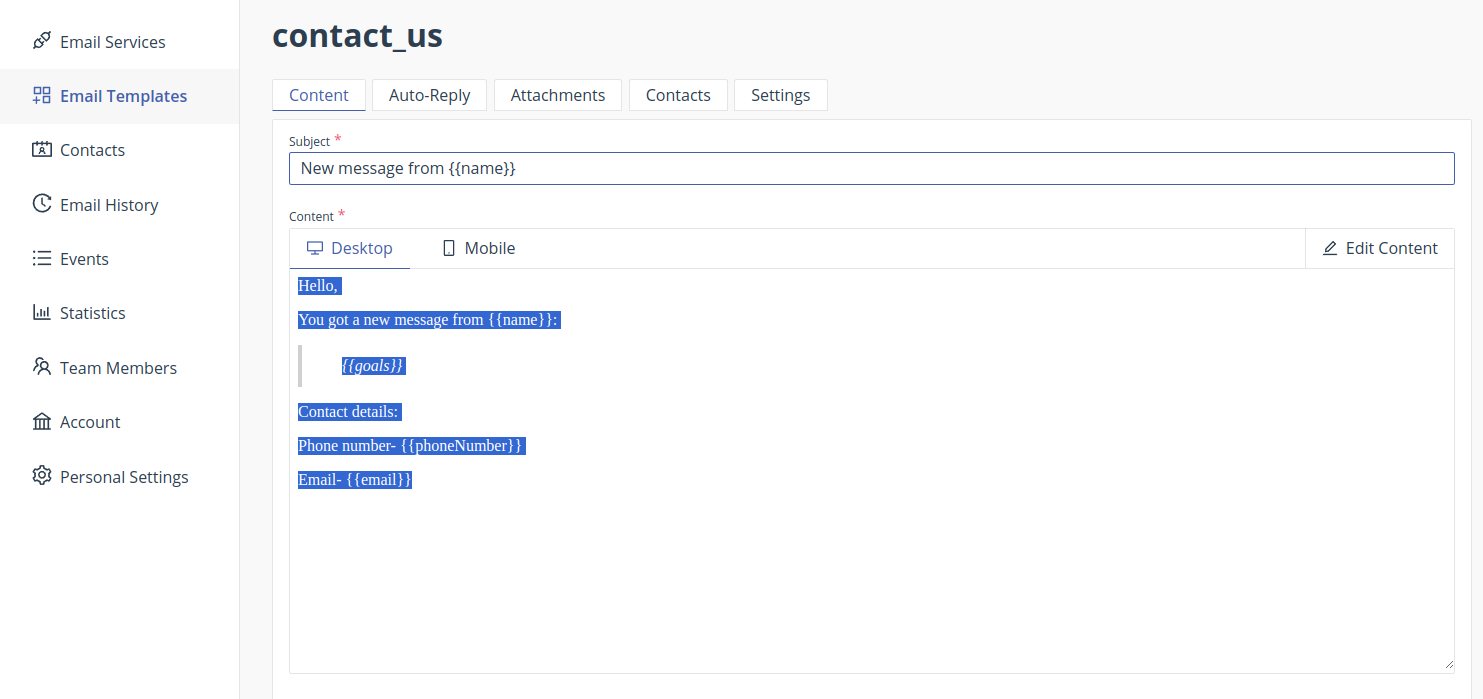
Don't forget to save.
That's it! Now let's create a thank you mail as well.
Thank you mail template
Similarly as we did above, go to Email templates and create a new template according to your choice.
On the right hand side you can see to email field which is marked as required, delete the contents of the field and add {{email}} to it. So that an automatic email is sent to the email address that is entered by the customer/user in our form.
Now come back to contact_us template and head towards auto reply section and select the thank you mail template.
We are done with configuring EmailJs on the browser, now let's head to code.
Before we move we need some secret keys.
I am listing them down you can grab them from your EmailJs dashboard and paste them in an .env file or for learning purpose you can directly use them, but please never ever use your secret tokens or keys directly in the code.
Tokens required
You need three secret tokens or ids i.e.
Service Id: You can find it from the Email Service section.
Template Id: Go to Email template section and select the contact_us form template, navigate to its settings and grab the id.
Public key: Go to account section and grab the public key.
Paste them in and env file if you are using one.
Sending the Email
Before writing any further logic let's install the emaljs dependency. In your terminal paste npm install @emailjs/browser
Now to target the form we would require a reference to it.
Therefore let's start with creating a ref using useRef hook of React and then add it to form.
Here are the additions that you need to make in the code.
const form = React.useRef()
<form ref={form}......
Send email function
If you head towards the Docs and scroll down to very bottom of the menu, you can see Examples section. On selecting React you will get the code required to send the email.
Here are the addition that you need to make to the code.
const sendEmail = async (e) => {
    e.preventDefault();
    try {
      const response = await emailjs.sendForm(
        import.meta.env.VITE_EMAILJS_SERVICE_ID,
        import.meta.env.VITE_EMAILJS_TEMPLATE_ID,
        form.current,
        {
          publicKey: import.meta.env.VITE_EMAILJS_PUBLIC_KEY,
        }
      );
      if (response.status === 200) {
        alert("✅Your message has been sent successfully!");
      }
    } catch (error) {
      alert("❌Failed to send the message, please try again later");
      console.log(error);
    } finally {
        setFormData({
          name: "",
          phoneNumber: "",
          email: "",
          goals: "",
        });
    }
  };

<form onSubmit={sendEmail} ........>
Since it is sort of a service and talking to different servers, it may take time therefore we define a async function.
Inside we handle the logic in a try-catch-finally block, if the response that we get in return from the emailjs.sendForm function has status code of 200 then display appropriate message using alert.
We handle the error in the same way.
And finally we clear all the fields of the form.
Let's test
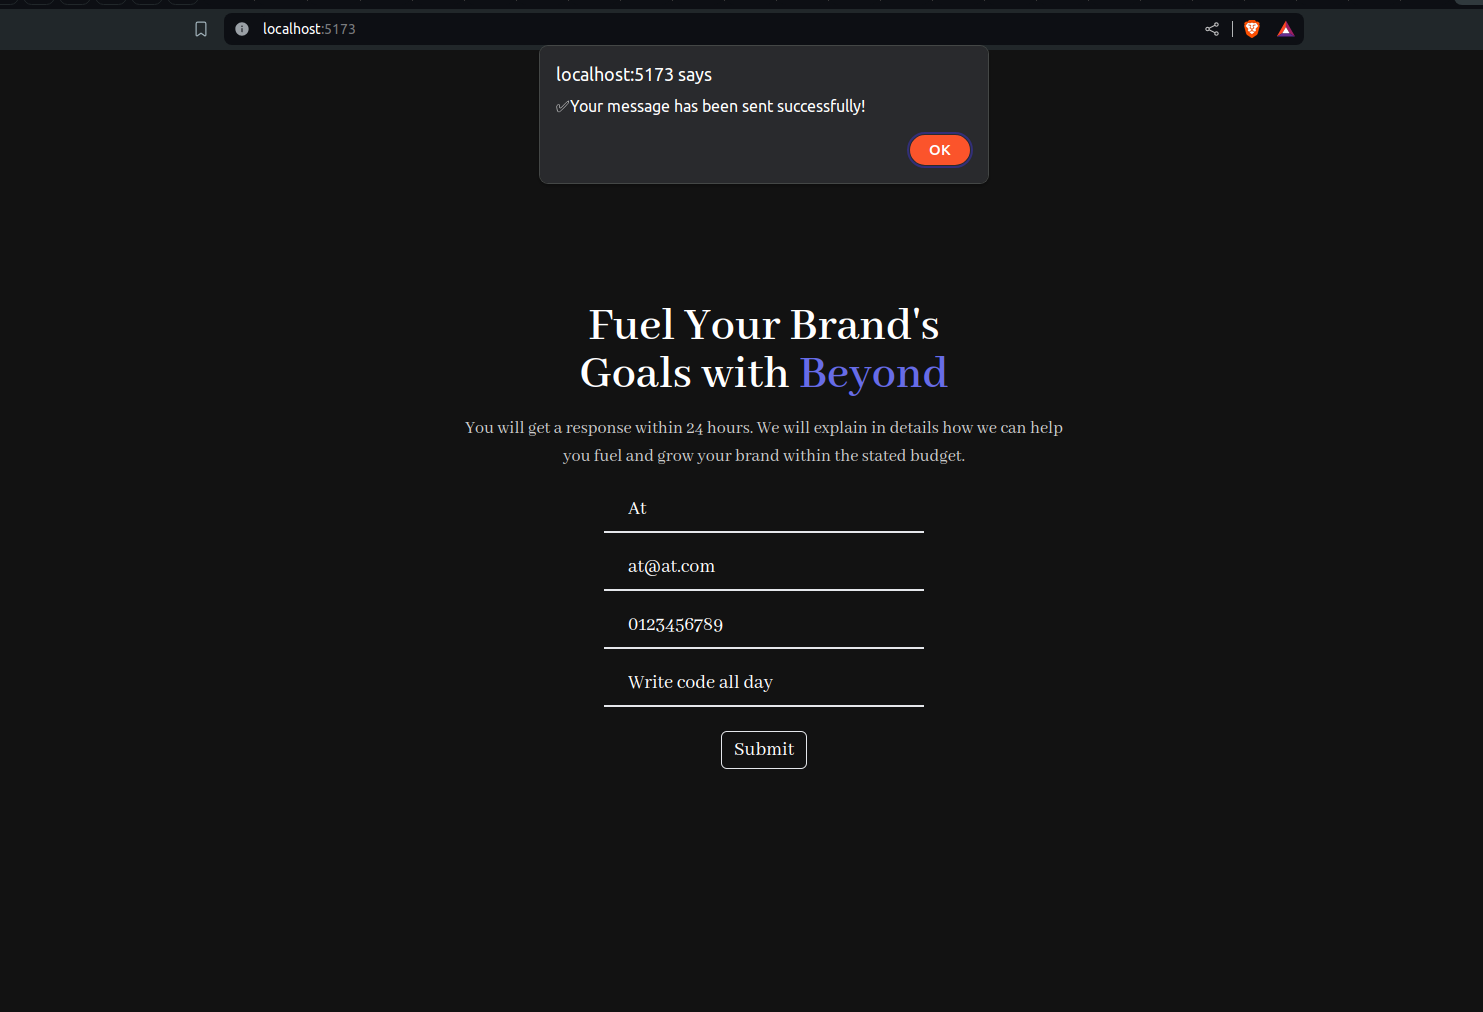
Form has been submitted successfully.
Now let's check the mail.
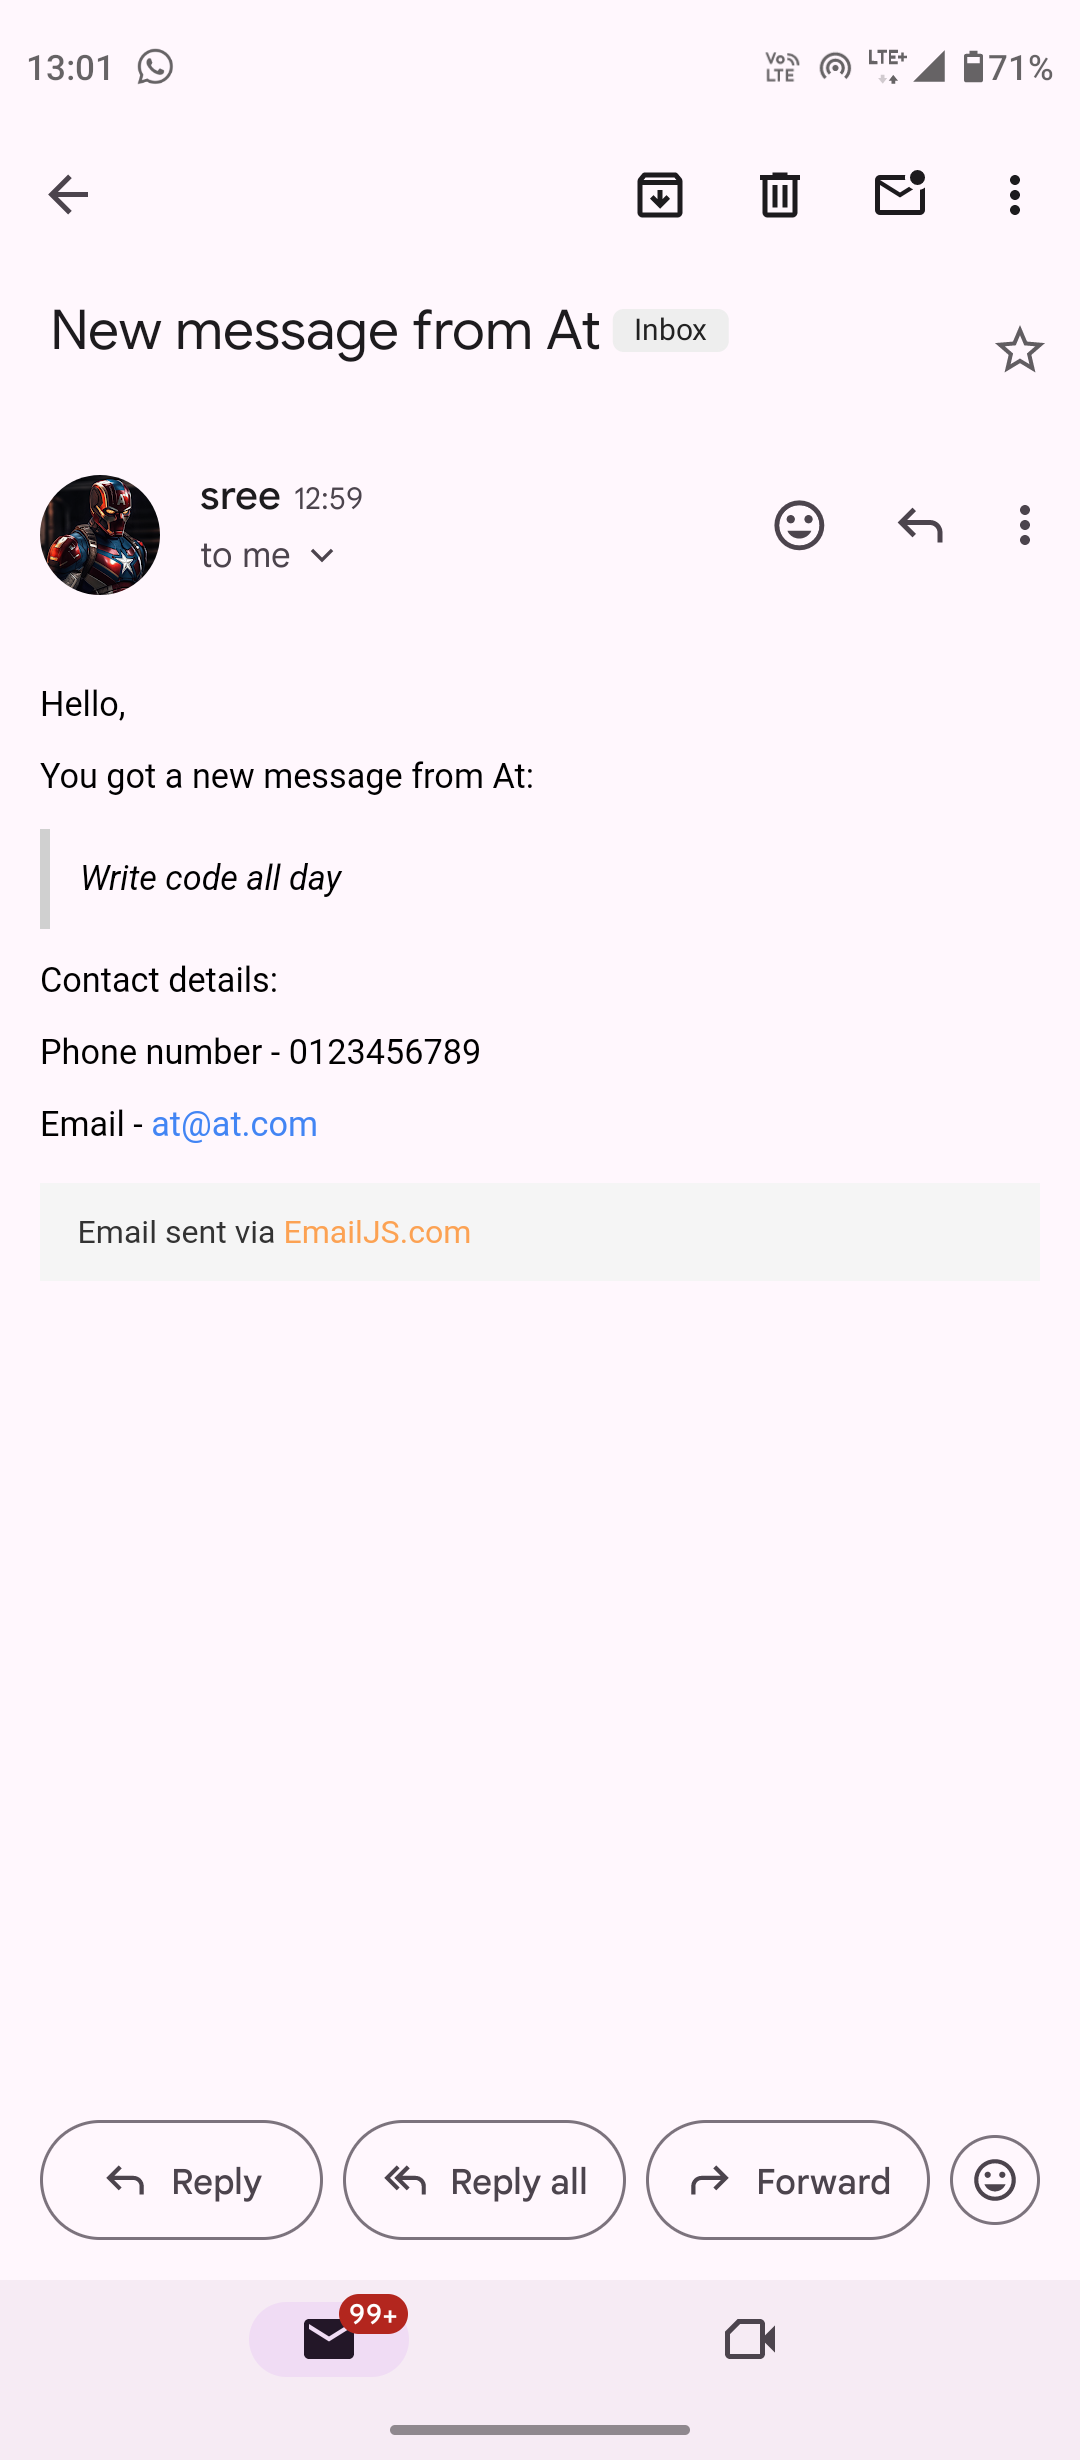
Customer/user's query or message has been successfully received in our mail, in the same way the user will also receive a thank you mail.
Wrapping up
That's it! You have successfully learnt how to send emails using emailjs.
Now I have few challenges for you which will take you to another level as a developer.
The tutorial here doesn't focus on form validation try to implement it on your own using logic of your own or use any library. Handle the edge cases as well for example what if any field is empty.
For one level more up, create a database and a sever that would save the queries to the DB as well, use your favourite tools and services.
I will see you in the next one until then, Happy coding!
You can access the entire code here.
#ChaiCode


